
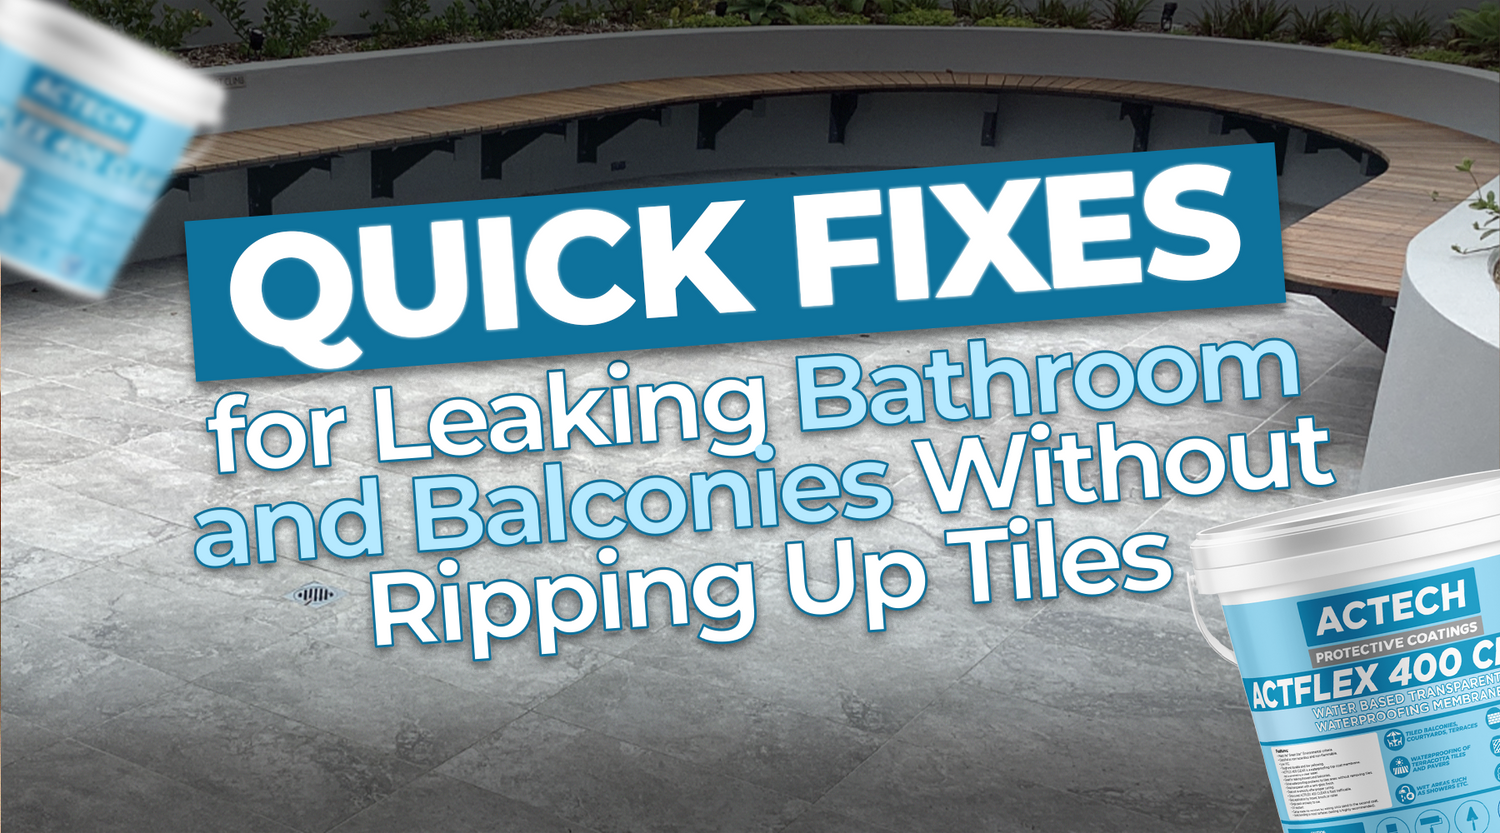
Are you tired of dealing with pesky leaks in your bathroom or balcony but want to avoid the hassle of ripping up tiles? Look no further! We have a solution that's quick, easy, and effective—ACTFLEX 400 Clear. In this blog post, we'll walk you through the application process step by step, ensuring you can tackle those leaks with confidence.
Preparation is Key
Before diving into the application of ACTFLEX 400 Clear, it's crucial to prepare the surface properly:
- Ensure Dry Surface: ACTFLEX 400 must be applied to a dry surface free from moisture. If the area has been washed or exposed to rain, allow it to dry for 3-5 days in the sun or ensure it's completely free from any moisture.
- Remove Silicone: Remove any existing silicone from corners or other areas where the membrane will be applied.
- Repair Grout: Fill in any loose or missing grout before proceeding with the application.
- Apply Soudal T-Rex Crystal: Prior to applying ACTFLEX 400, use Soudal T-Rex Crystal in all corner junctions and any gaps or holes in grout lines for added protection.
Application Method
Now, let's dive into the application process for ACTFLEX 400 Clear:
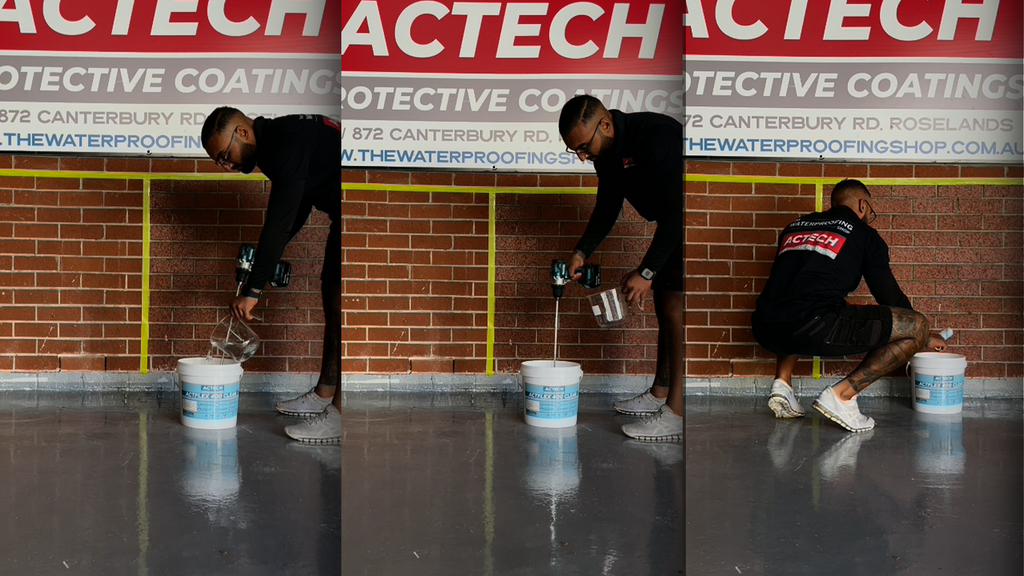
- Mixing: Use a Sika 5L Measuring Jug to measure the appropriate amount of water according to the specified ratio. Mix ACTFLEX 400 thoroughly with water using the provided jug.
- Roller Application: Utilize either a Mohair Roller 230mm - 3pk or UNi-PRO Trade 160mm Micro-Fibre Paint Tray Kit for applying ACTFLEX 400. Dip the roller into the mixture and apply thin, even coats to the surface.
- Thin Coats: Apply ACTFLEX 400 Clear: in very thin coats, similar to applying normal paint. Three thin coats allow for quicker drying and increased trafficability.
- Drying Time: At 25 degrees Celsius, allow 4 hours between coats. Ensure the area remains dry for at least 72 hours after each coat to prevent rain or water exposure.
- Optional Non-Slip Finish: For a non-slip surface, add ACTFLEX Anti-Slip 1kg between the second and third coats by broadcasting sand over the wet ACTFLEX 400 Clear Once dry, remove excess sand and apply the third coat.
- Track Record: Rest assured, ACTFLEX 400 Clear boasts a 4.5-year track record in the industry without any reported issues.
Important Notes
- If ACTFLEX 400 Clear turns white after curing, it indicates moisture under the surface. This doesn't affect the membrane's integrity and will revert to clear once the moisture evaporates.
- ACTFLEX 400 Clear leaves a semi-gloss finish, so it's recommended to perform a test patch first.
By following these steps and utilizing the recommended tools, you can effectively address leaking issues in your bathroom or balcony without the need for extensive renovations. Say goodbye to leaks and hello to peace of mind with ACTFLEX 400 Clear!

THIS PHOTO IS TO SHOW HOW THE FINISH LOOKS LIKE ONCE DRY. IT LEAVES A SEMI GLOSS FINISH
Have you tried ACTFLEX 400 Clear or encountered leaking problems in your home? Share your experiences and tips in the comments below!
Leave a comment
This site is protected by hCaptcha and the hCaptcha Privacy Policy and Terms of Service apply.